Hello there , finally I'm back to show you something on this blog ! I have been very busy creating lovely projects for various places and didn't have time to post anything , please forgive me .
Today , I am going to introduce you to two sets of stamps that I designed and have been made by the wonderful people at PaperArtsy . This is the first time that I have designed any stamps and it is very exciting . I really hope that you enjoy them as much as I enjoyed designing them .
If you go over to the PaperArtsy website you will find out more .
Little Canvas Treasure Bags
I have included a couple of step by step photos to show how these little bags were made . They are very simple to create . In the picture above I have stamped and coloured an ivy stamp on tissue paper before adhering it to the back of the bag with PaperArtsy Matt Medium . The backs of the bags are all decorated in the same way using different stamps . As you can see below the mistletoe stamp was used for the back of the next bag .
The front of this bag was created using the same design on tissue paper which I stuck to a piece of fabric before attaching it to the front of the bag .
As you can see in the photograph above, the final bag was decorated using a holly stamp .
In the photograph below, you will see that the front of the bag with the circular design was again created by sticking the tissue onto fabric before adhering that to the bag . To the right of the picture you will see the bag featuring the rectangular design which was simply stamped on tissue paper and coloured before adhering to the bag.
Canvas Frame
Is it a wall hanging or a parcel ?
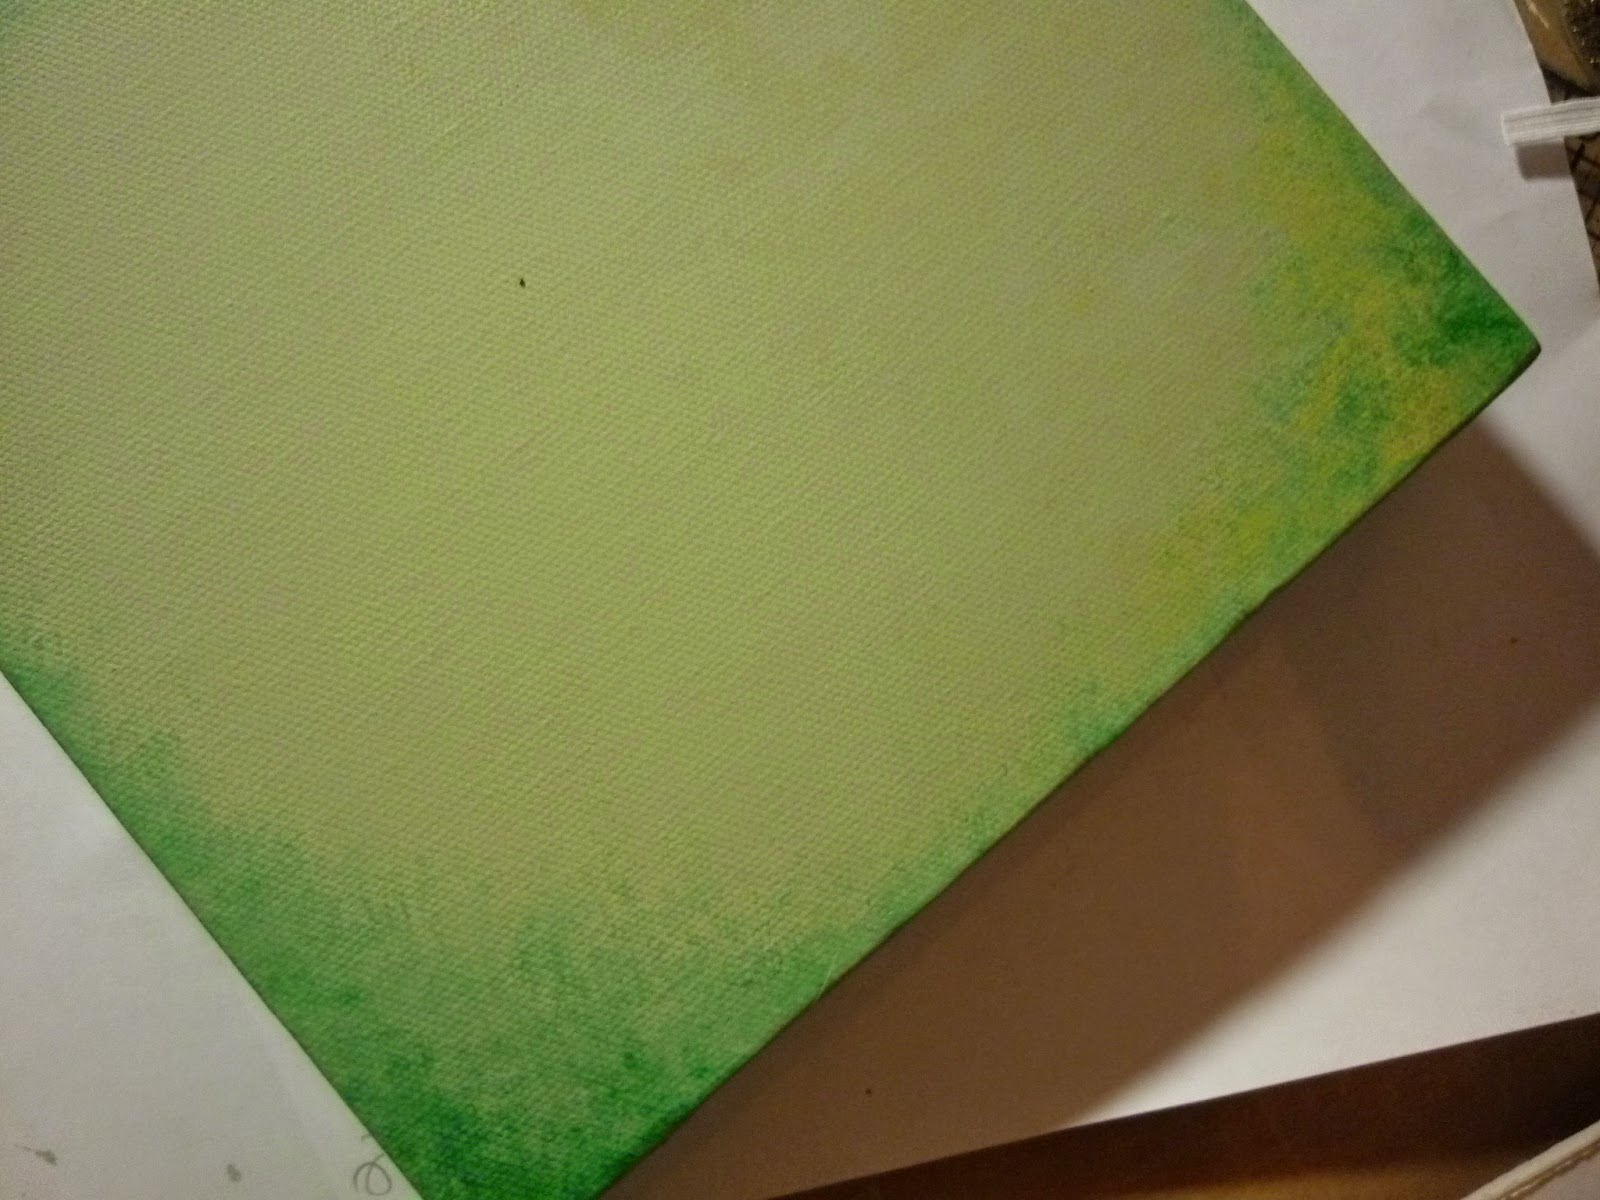
To create this canvas I have again used tissue paper to transfer the stamped design onto the background which was already painted using Bora Bora, Hey Pesto and South Pacific PaperArtsy Fresco Paints . I stamped the ivy design randomly and coloured it before adhering it to the painted canvas .
The photo below shows an area where I have used a stencil to create a design using Grunge Paste which has been coloured with green paint.
Next, I created some flowers using my stamps which are actually baubles ! I stamped them with Cranberry Pigment Ink and cut each bauble out before sticking them together to create flowers . See below . The picture shows the flowers in various stages of creation .
I then stamped one of the fairies from my stamp sets and coloured her in . I also made a frame for the piece and added various paints and Treasure Gold to create a striking effect .
The last step was to rub Treasure Gold around the edges of the canvas and adhere the picture and flowers to the canvas . See below for the finished result !
Winter Treasure Box
This Treasure Box is actually a book box but I thought it would make a perfect place to stash some treasure !
I painted the whole box with Antarctic and blended Bora Bora and Space Cadet over this . To create the background I used two of the other new stamps from PaperArtsy, Script Stamp from ESN11 and Blobs from ESN09 .
The picture below shows the back of the box with the background stamping already done and a design stamped using the mistletoe and the ivy stamps from my new sets .
I also used the mistletoe stamp for the design on the front of the box .
The insert (shown in the picture below) was covered with embossed paper which was painted dark blue and rubbed with Treasure Gold to show up the embossing .
I then stamped and coloured another of the fairies from my new stamp set and attached her to the insert along with some ribbon and flowers . The word stamp is from ESN11 .
And here is the finished piece !
Thank you for reading . I hope you like these projects .
Good bye for now , back soon !


